

PVC Pipe Parallel Bars
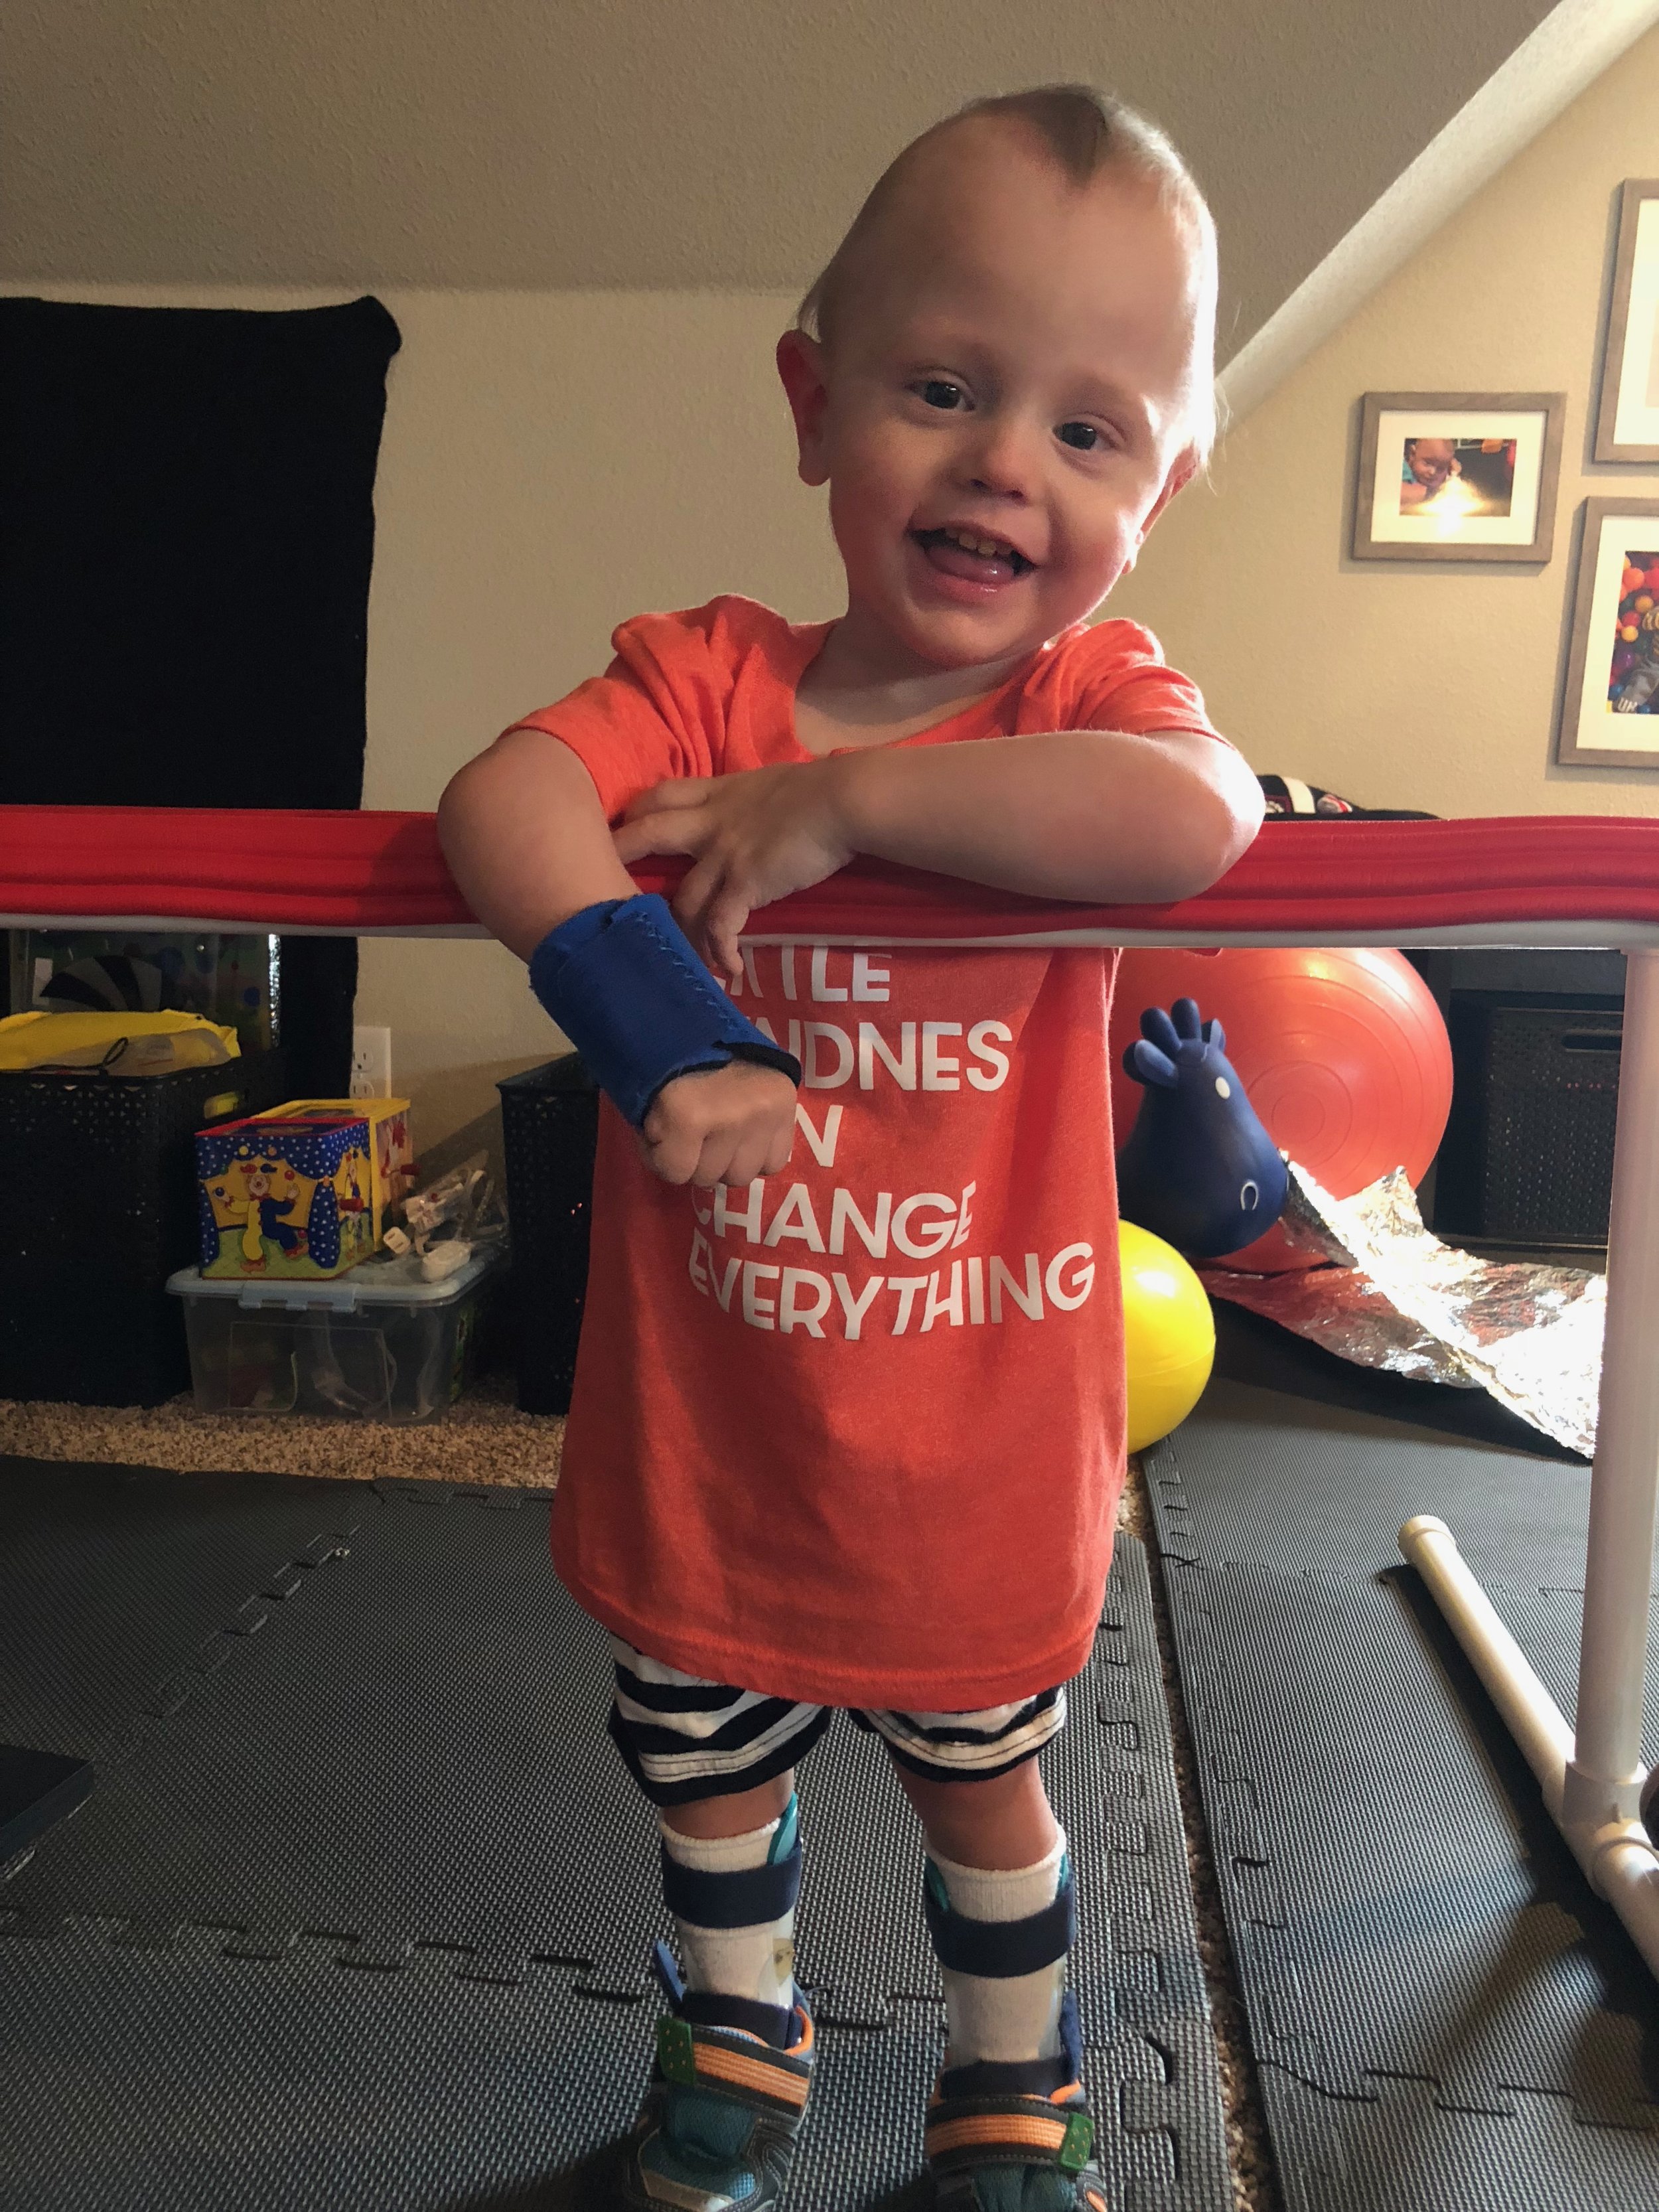
Thanks to the help of Conner's therapists, we have been able to create a few items made out of PVC pipe to aid Conner in his movement. Conner uses his parallel bars for standing and even stretching his right arm, shoulder and peck (his right arm is weak and tight). My hope is that he will eventually use these to aid in learning to walk.
What you need:
- Six (6) 5' 1-inch PVC pipes (furniture grade)* - this varies on the height of your child and the desired length of your parallel bars
- Four (4) 1-inch 90 degree PVC pipe Elbow (furniture grade)*
- Four (4) 1-inch PVC pipe Tee (furniture grade)*
- Four (4) 1-inch External End Cap (furniture grade)*
- PVC Pipe cutters
- Tape measure
- Edge and corner guard coverage - optional, but we use this because our son has CVI (he sees red well) and it adds some padding incase he loses his balance.
*Note: we used furniture grade because it looks a little nicer and doesn't have the writing on the side. Non-furniture grade works just as well and can be purchased at Home Depot, Lowe's, etc.


Step-by-step instructions:
- Begin by measuring from your kiddo's armpit to the floor (in standing position, if possible). I would also recommend having them in whatever shoes they wear the most/are in when walking. Conner wears AFOs with shoes, so we measured him with those on in standing position. It required two people to do so since he is very unstable on his feet. Write the measurement down, this will be helpful when deciding how tall to make your parallel bars.
- Decide how long you want your bars to be. We chose 5' because the PVC pipe came in that length (less cutting) and it was long enough to give Conner space to move while not taking up too much space in his therapy room.
- Attach one (1) 1-inch 90 degree PVC pipe elbow to each end of your two (2) 5' long PVC pipes (these will be the bars your child holds on to). Set these aside until you're ready to fully assemble everything.

Two (2) 5' 1-inch PVC pipes used as the top bars on Conner's parallel bars. This already have the 90 degree elbows attached to each end and the red edge/corner guard coverage.
The next step will require some cutting. If you don't have PVC pipe cutters, you can get them on Amazon or any hardware store. If you purchase PVC pipe at Lowe's or Home Depot, you may be able to convince them to cut everything for you...bring the measurements you need, just in case!
Base of the parallel bars
- Cut four (4) 16" pieces of 1-inch PVC pipe
- Cut two (2) 14" pieces of 1-inch PVC pipe
- Assemble the base:
- The order will be one (1) 16" piece of PVC pipe- one (1) 1-inch PVC pipe tee - one (1) 14" piece of PVC pipe - one (1) 1-inch PVC pipe tee - one (1) 16" piece of PVC pipe
- Final step for the base pieces is to add a 1-inch external end cap to each end (4 total). This step is optional.
- You will repeat this again to make two (2) bases for your parallel bars
- Each base will have two (2) 16" pieces and one (1) 14" piece separated with 1-inch PVC pipe tees.
- The order will be one (1) 16" piece of PVC pipe- one (1) 1-inch PVC pipe tee - one (1) 14" piece of PVC pipe - one (1) 1-inch PVC pipe tee - one (1) 16" piece of PVC pipe


Legs of the parallel bars
Remember that measurement you did with your kiddo? Cut four (4) legs of the PVC to the measurement you came up with. If you don't feel like your measurement was accurate, add an inch or two just in case. You can always cut it down more, but you can't add height to it! That being said, the PVC Pipe Tees and the 90 degree elbows will add additional height, so you may need to tweak to get it the right height for your little one.

Time to assemble!
- Put the four (4) PVC pipe legs into the 90 degree PVC pipe elbows of the parallel bars
- Put the other end of the legs in the PVC pipe tees and you're done!
- Optional step: If you'd like to add the edge and corner coverage then cut two strips (under 5' so it only covers the bar and not the 90-degree elbows). The edge and corner coverage I purchased on Amazon comes with double-sided tape. I used that to attach the coverage to the bars. My son has CVI, so I chose red to help him see it better. As an added bonus, it adds some protection in case he loses his balance.


